Use our Vs Code Extension with continue
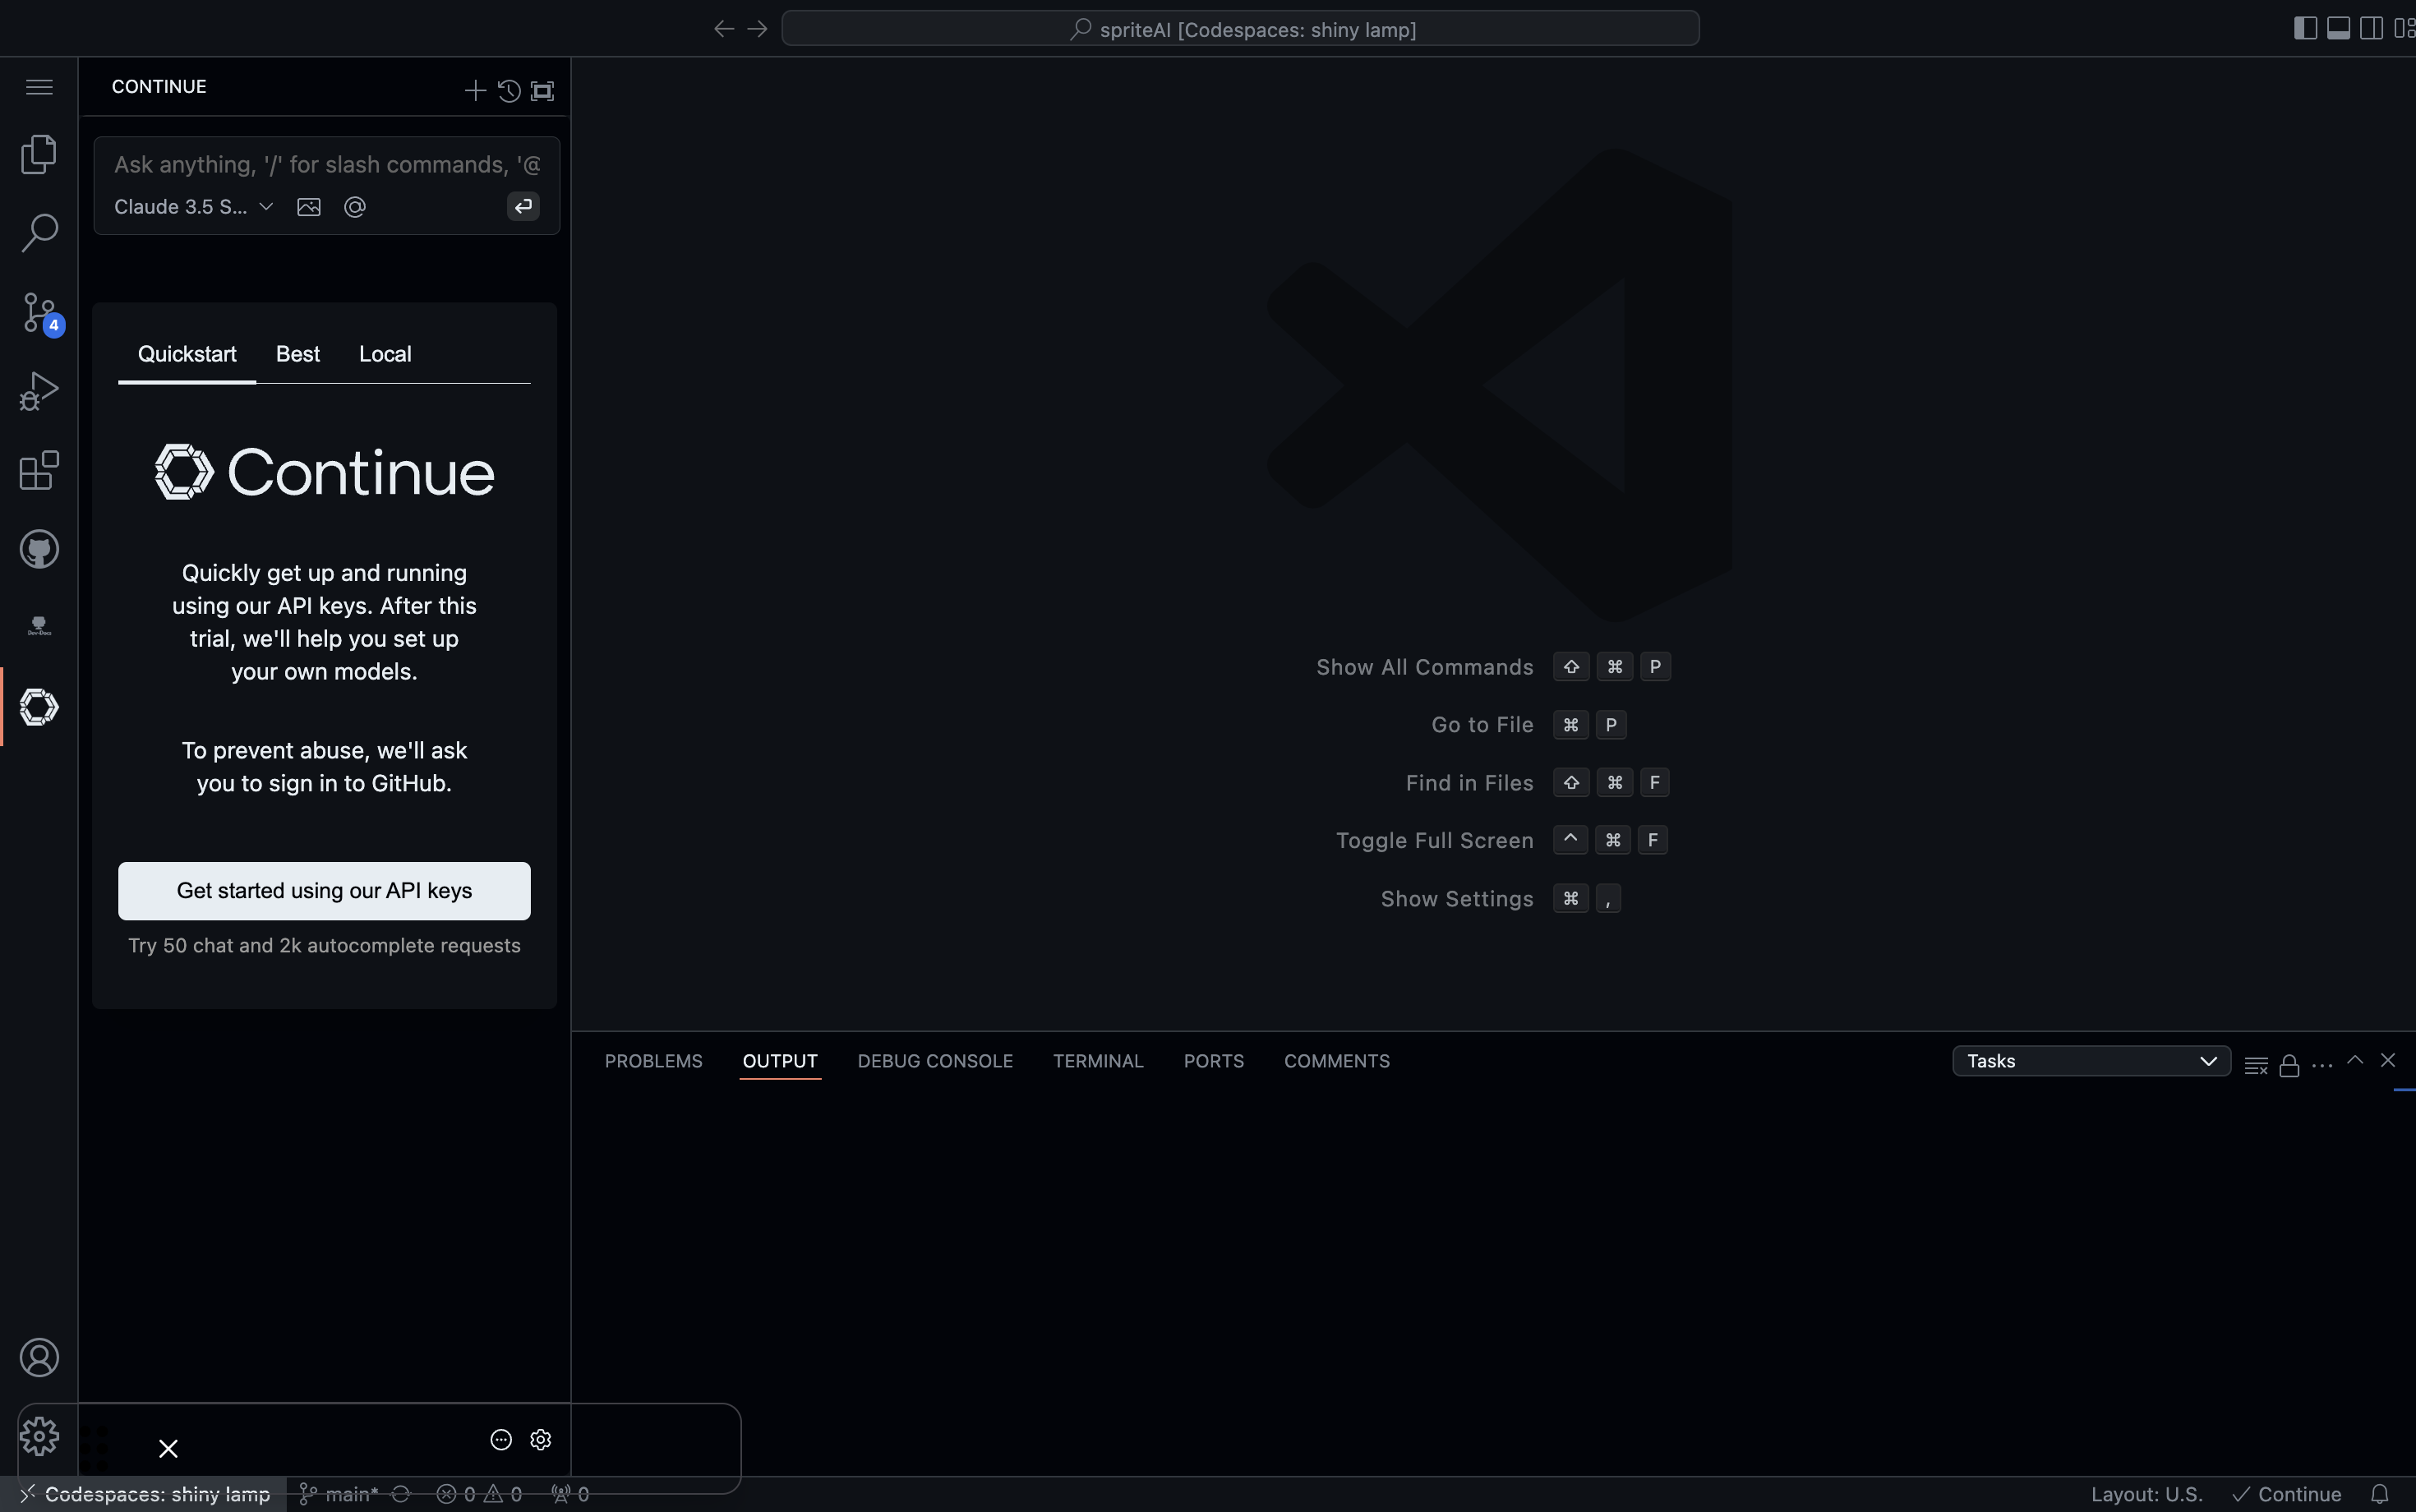
Step 1: Open Continue
Open your VS Code workspace and ensure the Continue extension is installed and running.
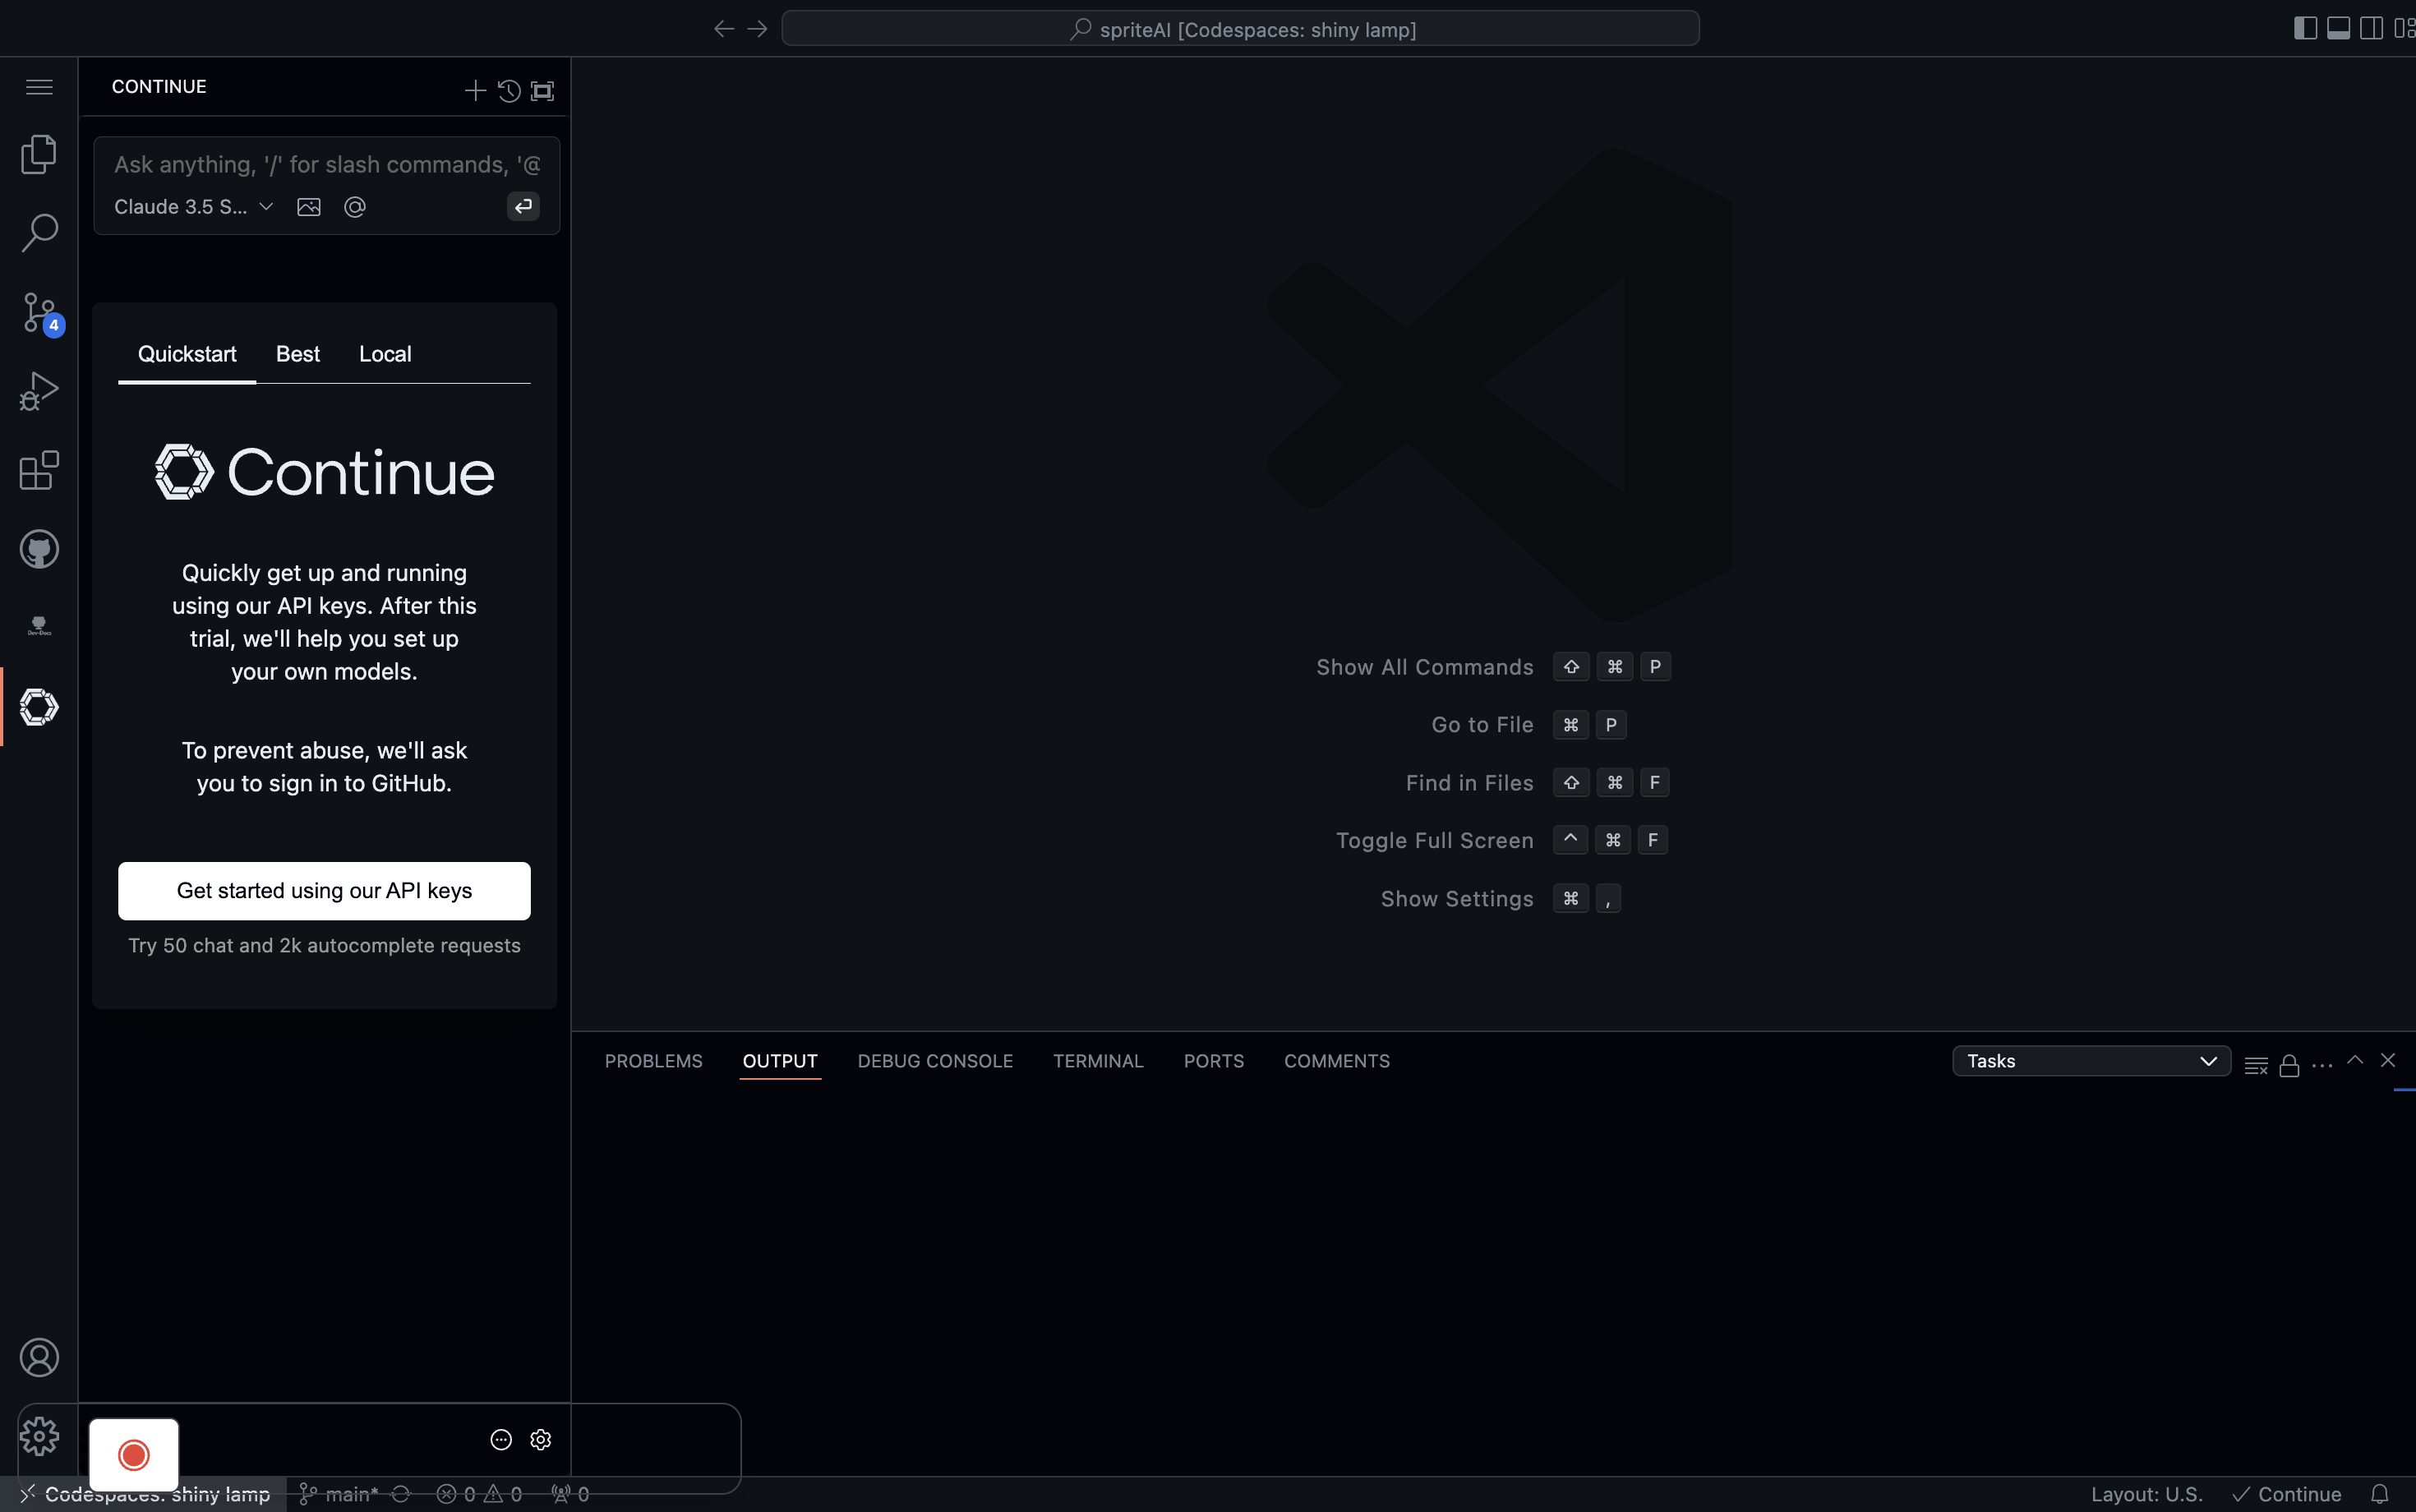
Step 2: Navigate to the Continue Interface
Click on the Continue icon in the sidebar to open the Continue interface.
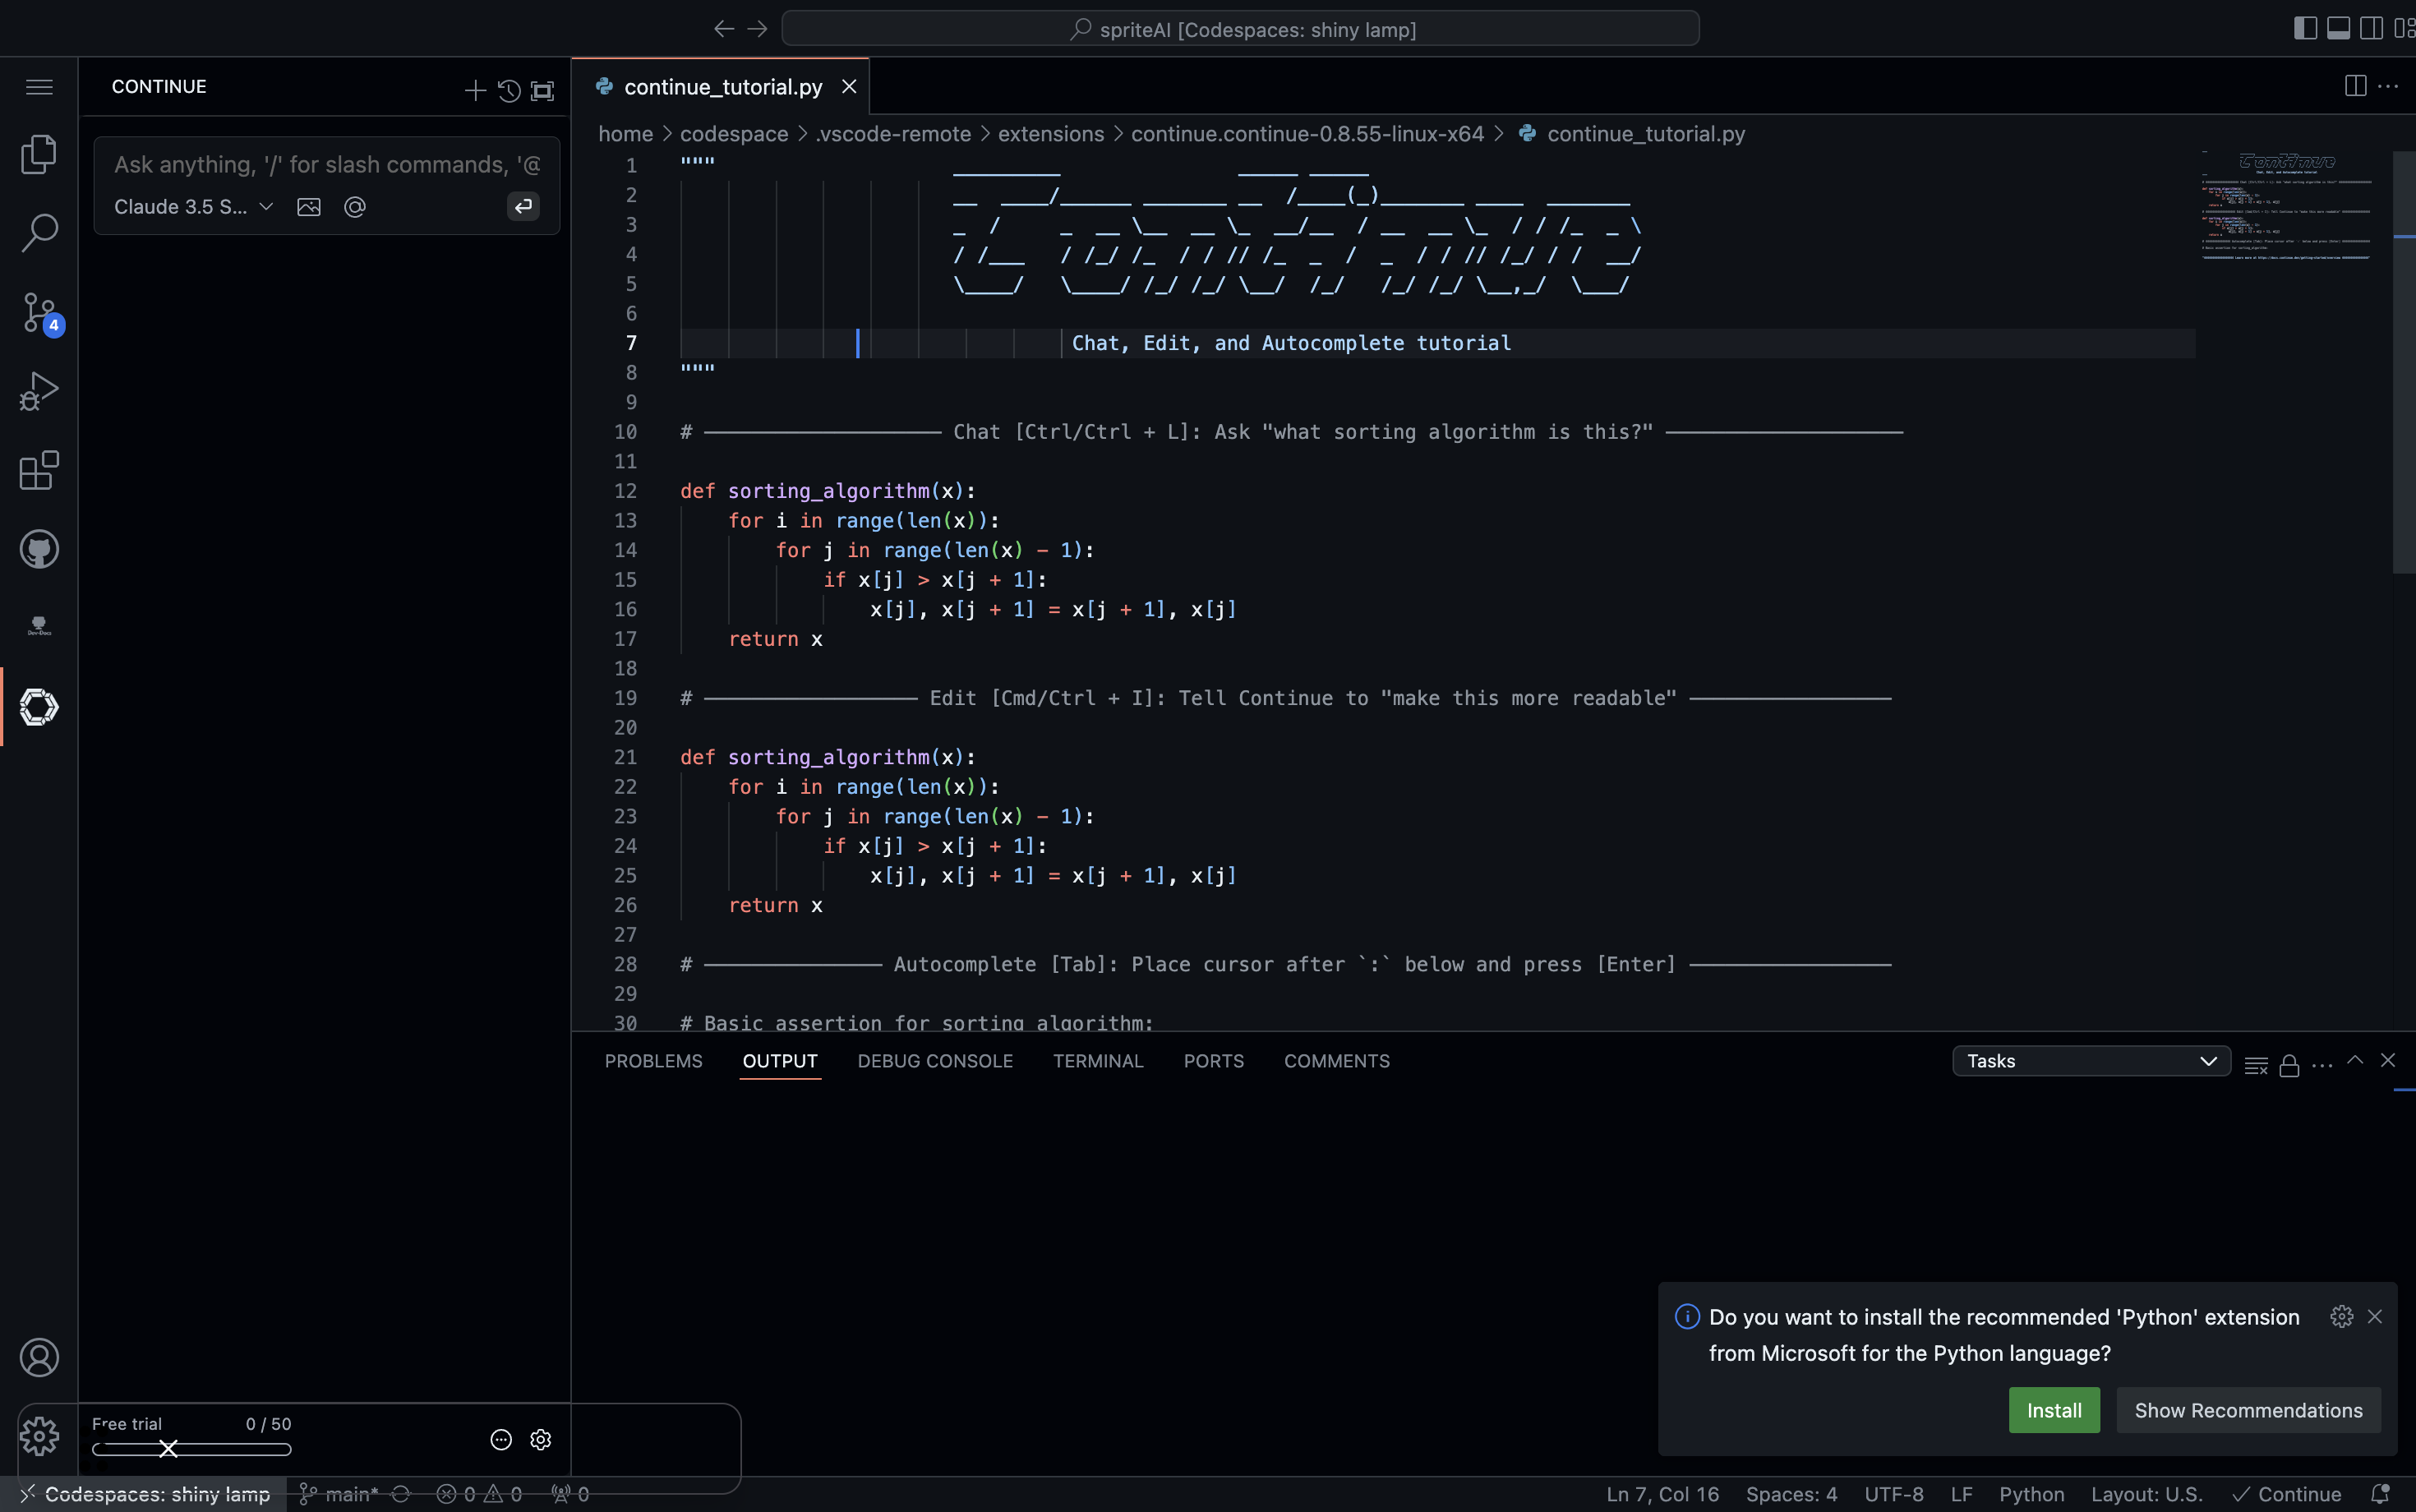
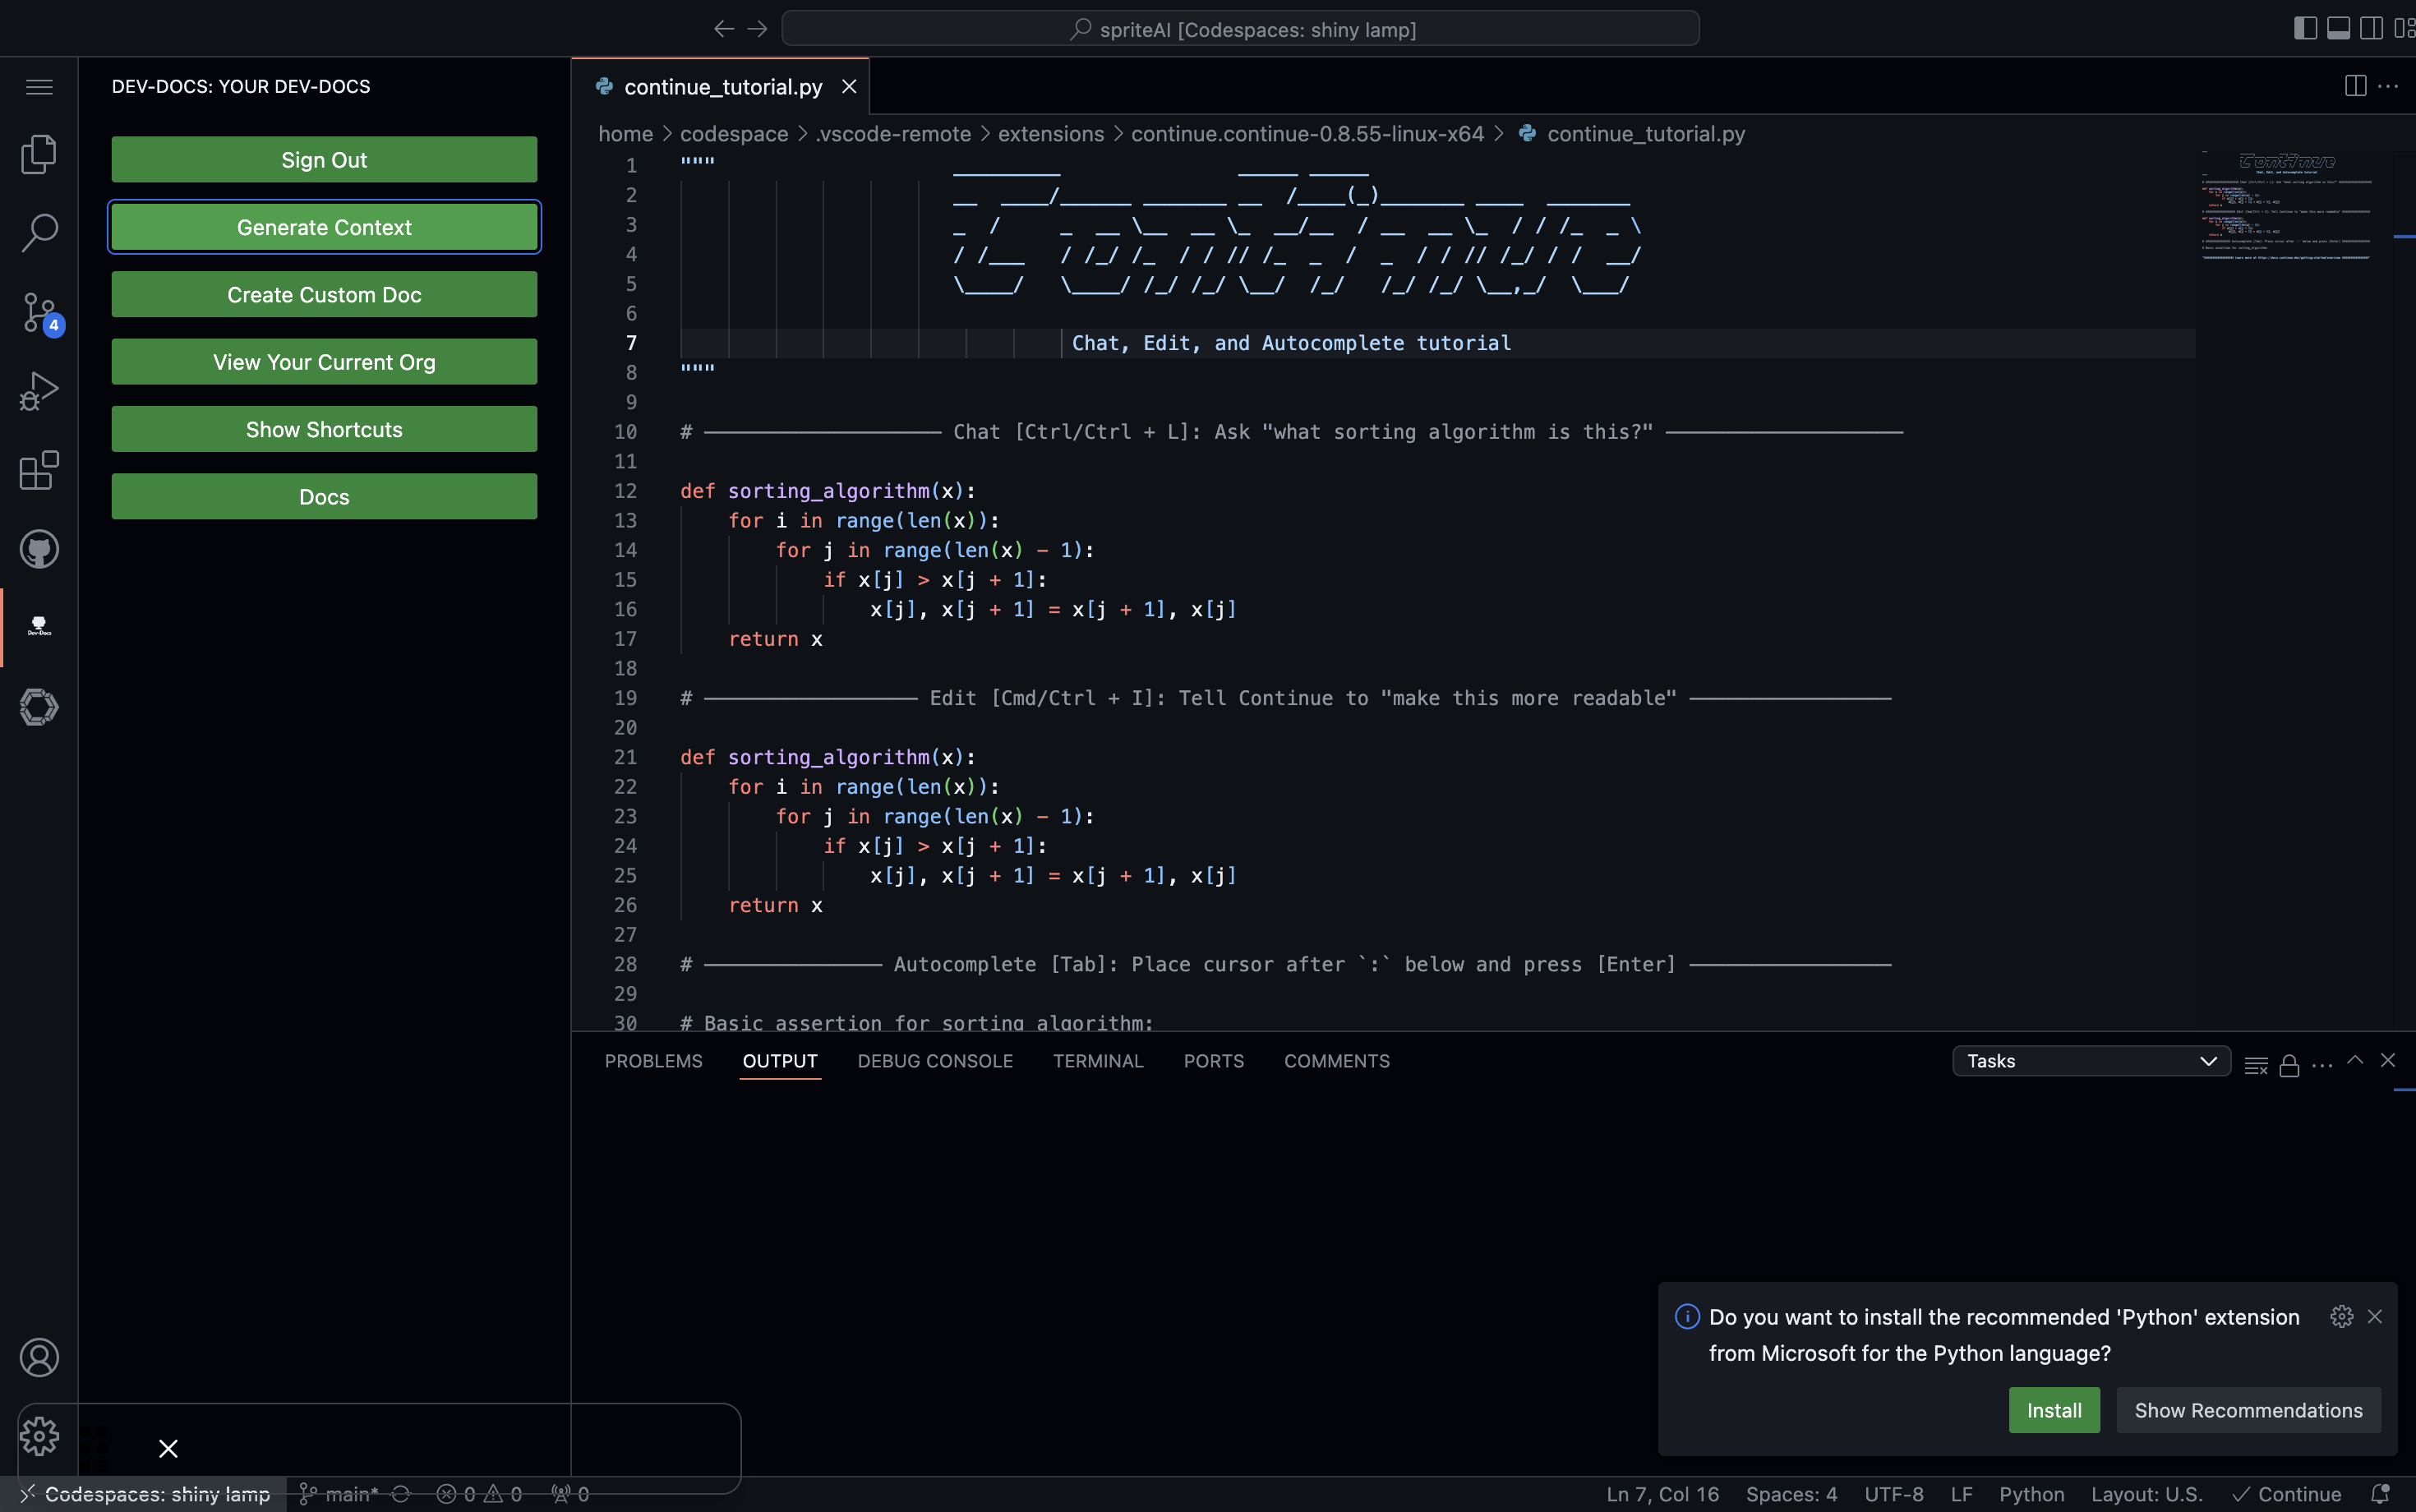
Step 3: View the Tutorial
The Continue tutorial will be displayed, showing a sample Python sorting algorithm.
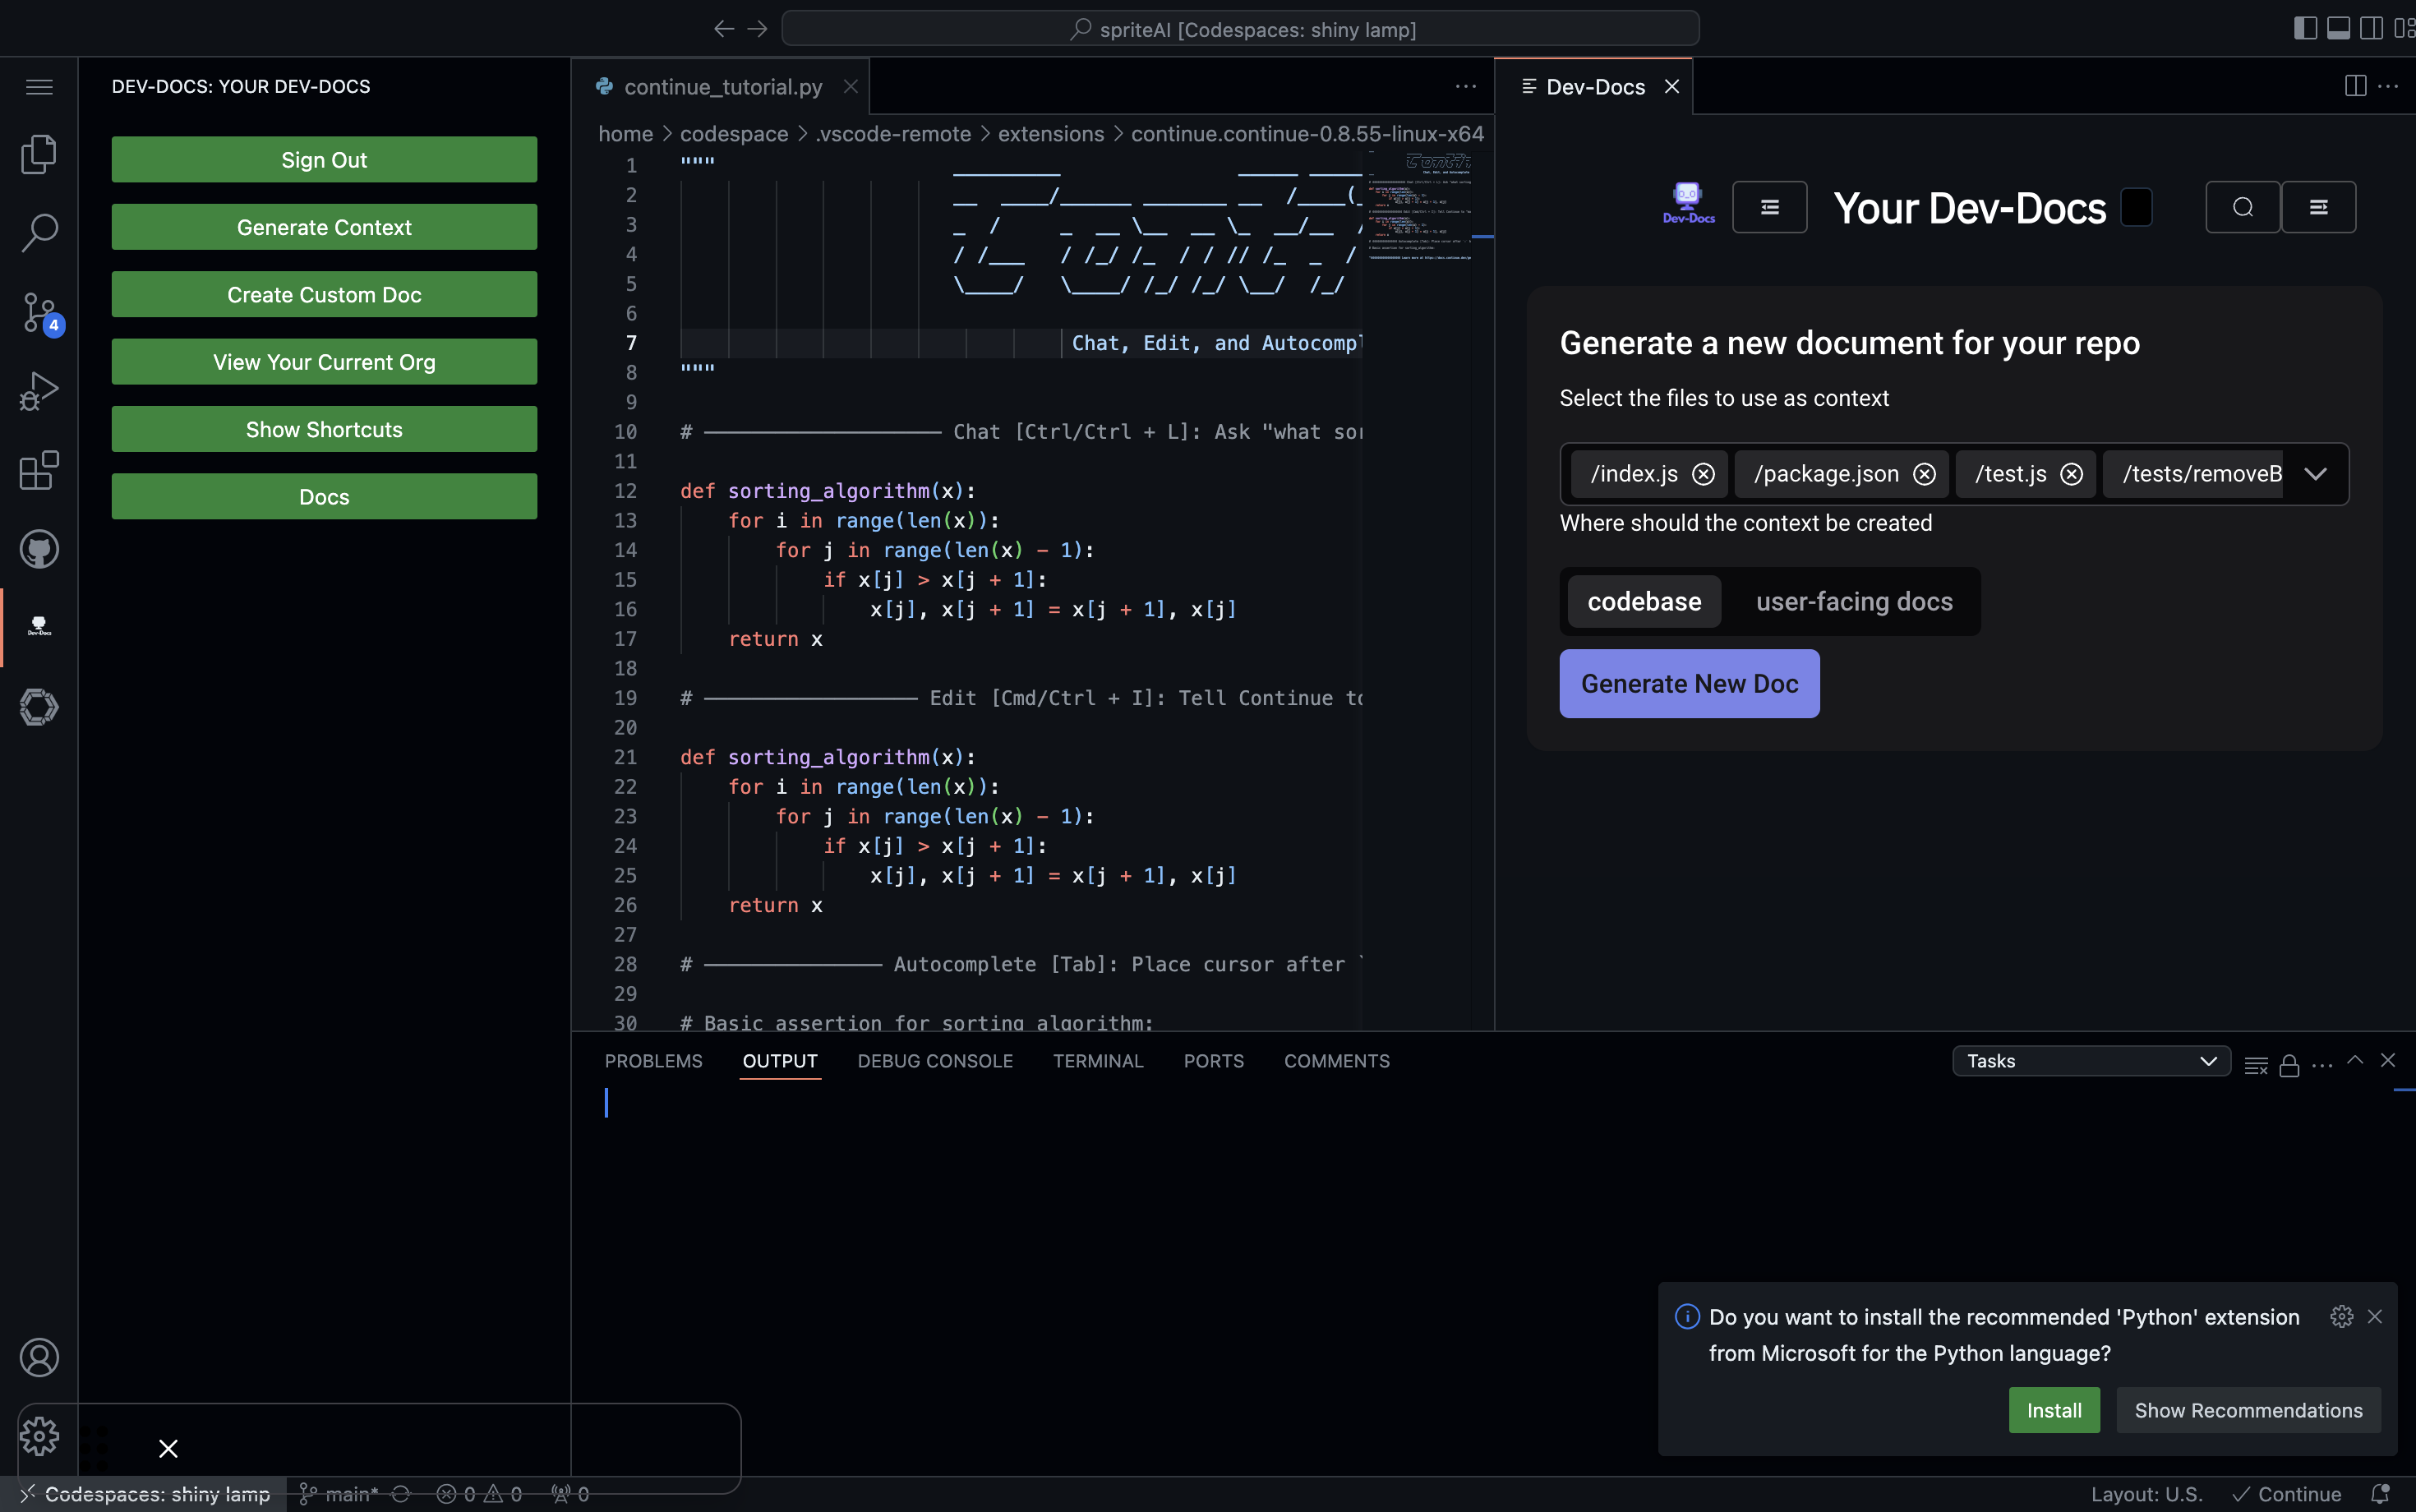
Step 4: Access Dev-Docs
Click on the "Dev-Docs logo icon" button in the sidebar to open the Dev-Docs interface. Then click the button generate context.
Step 5: Generate New Document
In the Dev-Docs interface, you can generate new high level documentation for your repository. Select the files you want to generate documentation on.
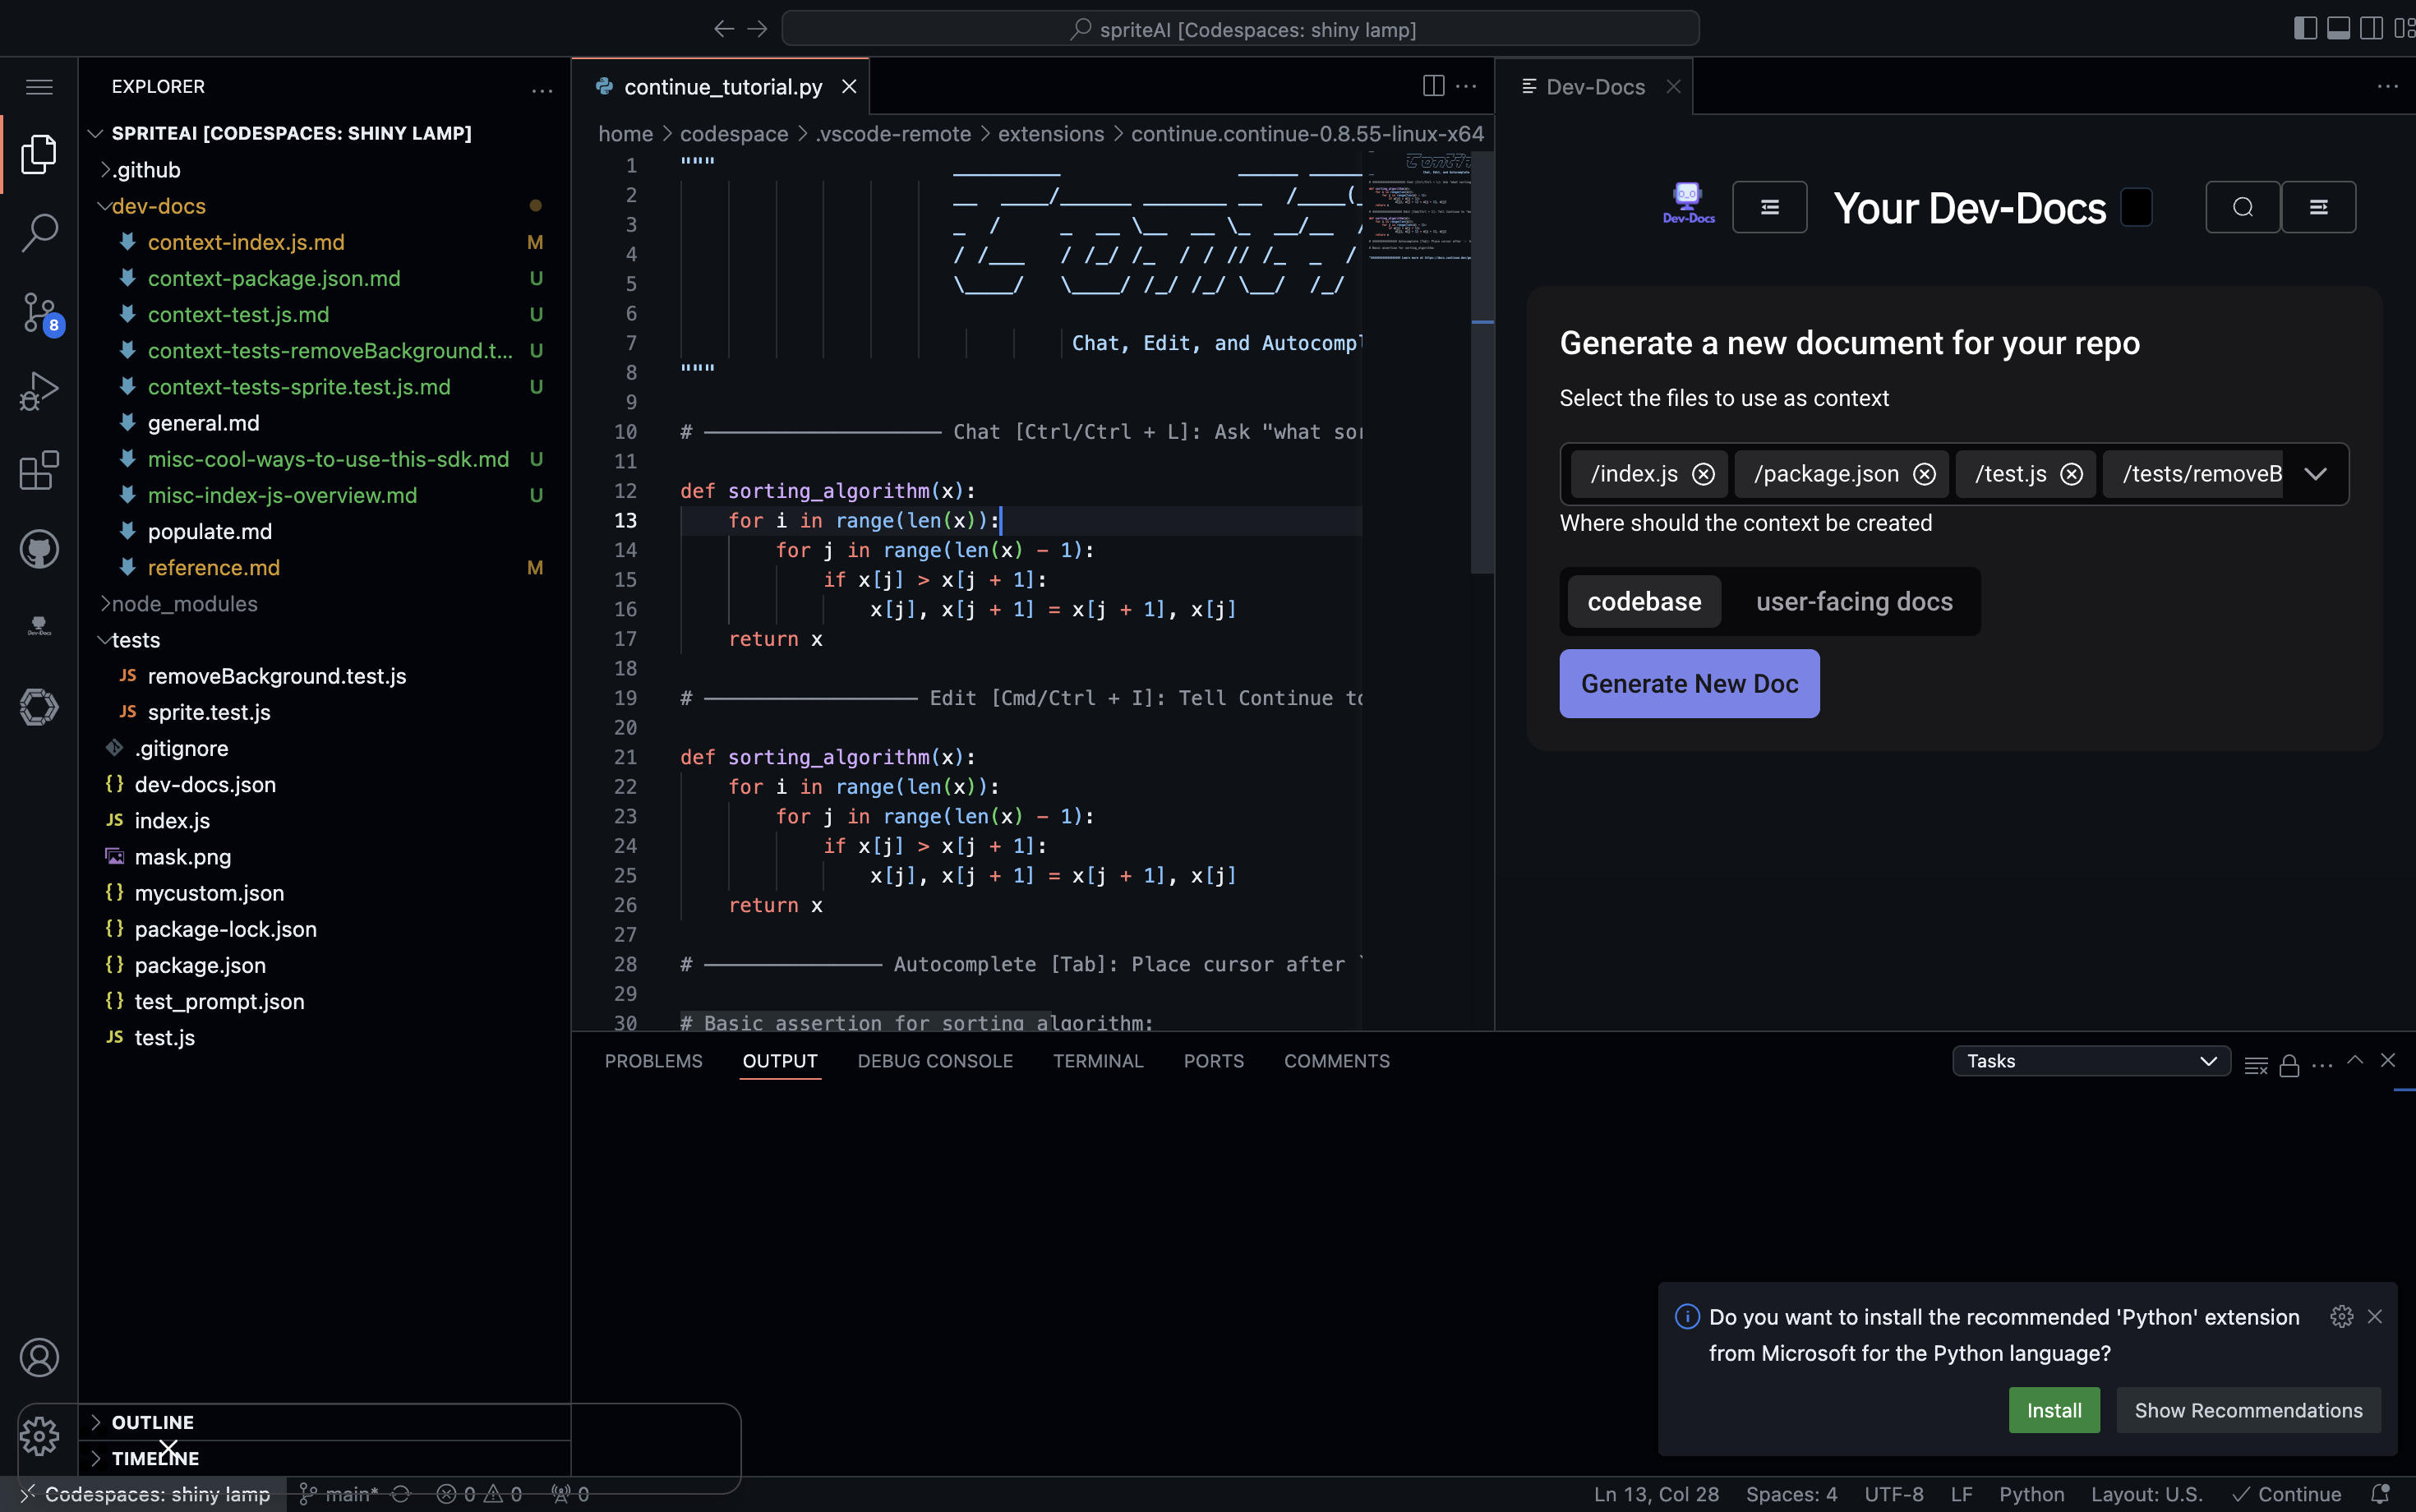
Step 6: View File Explorer
Markdown files will now populate in the "dev-docs" folder.
Step 7: Use Continue Search
In the Continue interface, use the search functionality to find specific folders or files in your project.
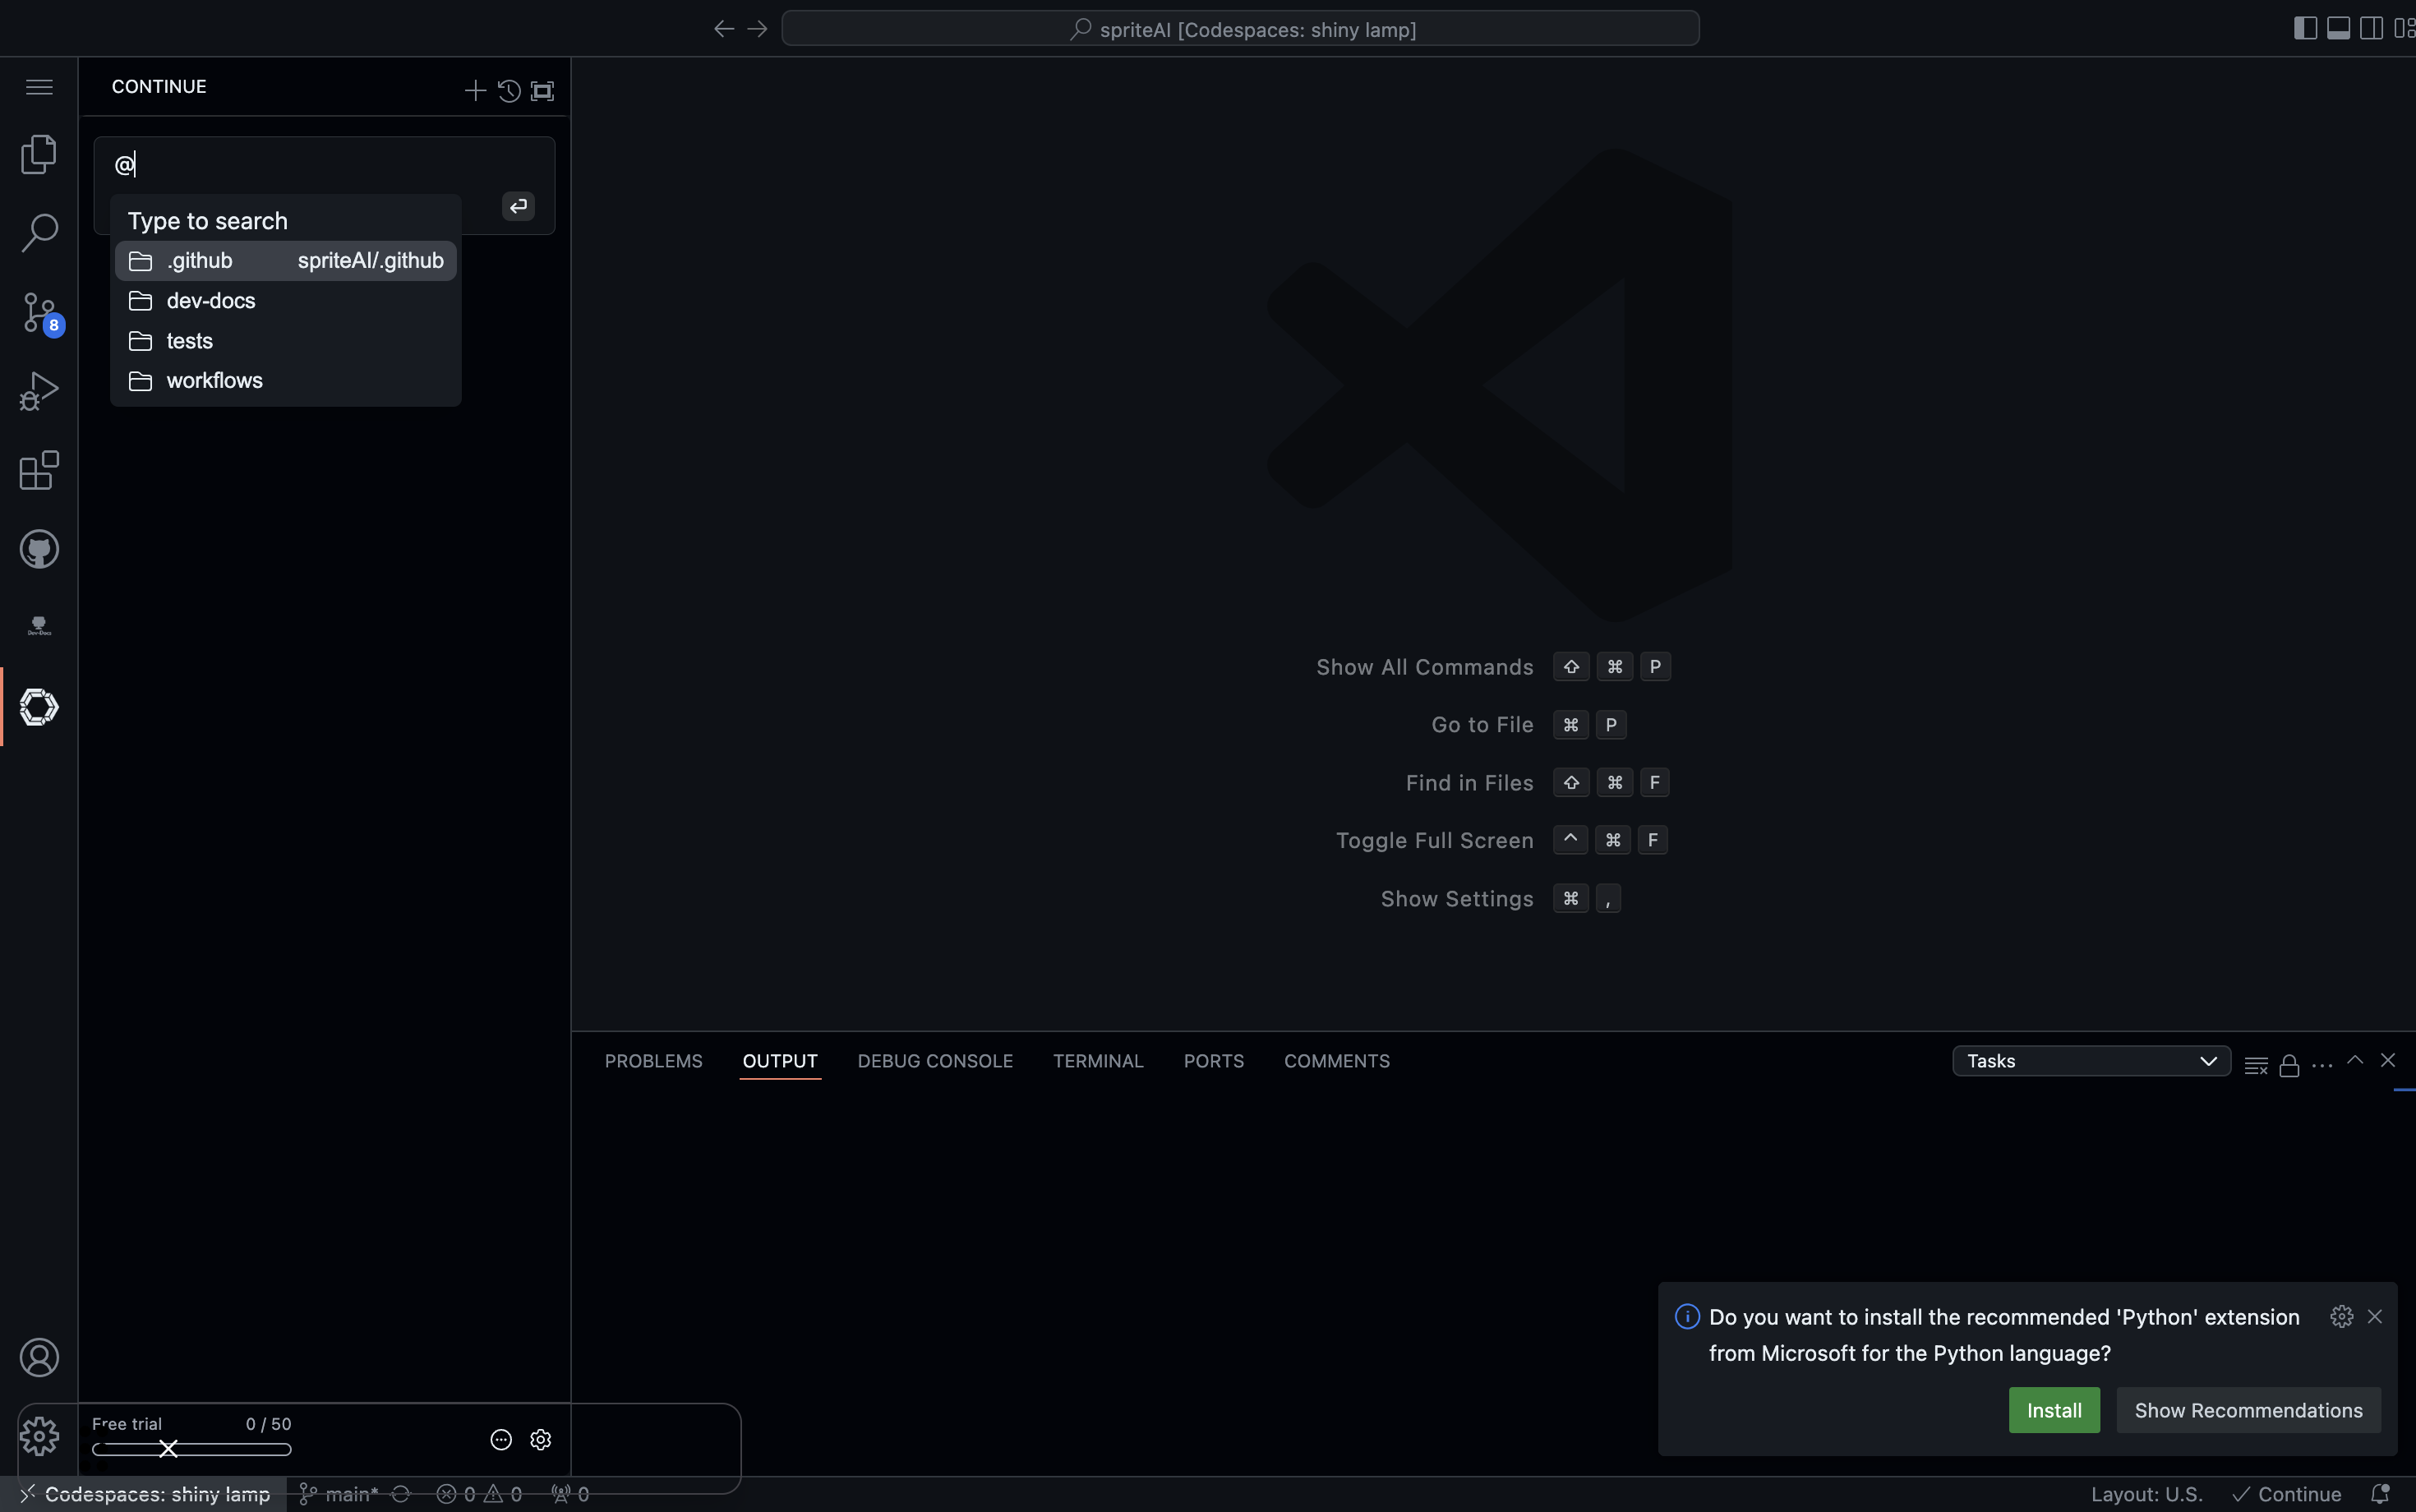
Step 8: Search for Dev-Docs
Type "@dev-docs" in the Continue search bar to quickly access the Dev-Docs related files and folders.

Step 9: Access Dev-Docs Content
After searching for "@dev-docs", you can now easily access and navigate through your Dev-Docs content.

Step 10: Ask Questions
Use the Continue interface to ask questions about your project using the "dev-docs folder" For example here we ask "What AI model does spriteai use?"
Step 11: View AI Model Information
Continue will provide information about the AI models used in your project based on the Dev-Docs content.
By following these steps, you can effectively use the Dev-Docs VS Code extension in conjunction with the Continue extension to improve your development workflow and easily access project documentation.